# Generate e-invoice(s)
* For generating e-invoices, select the documents that you want to generate e-invoices on the “Sales dashboard” page.
* You can select a document row individually and click on the “Send” button to generate an e-invoice.
* Alternatively, you can also bulk select the document rows (adjust the filter options for more refined bulk selection) and click on the “Send" button to generate e-invoices in bulk.

* Once the “Send” action is completed, you will see the status of the documents change to reflect the e-invoicing status.
* There can be 5 possible states for these documents
* **Pending**: The invoice is saved in ClearTax but has not been sent to the Peppol network.
* **Failed:** The invoice has failed at the Access Point/Buyer validation stage (e.g., a mandatory field is missing). This can also occur if the recipient is not being registered to receive this document type.
* **Submitted to Exchange Network**: The invoice has passed validation and has been successfully transmitted from ClearTax (Corner 2) to the Peppol network.
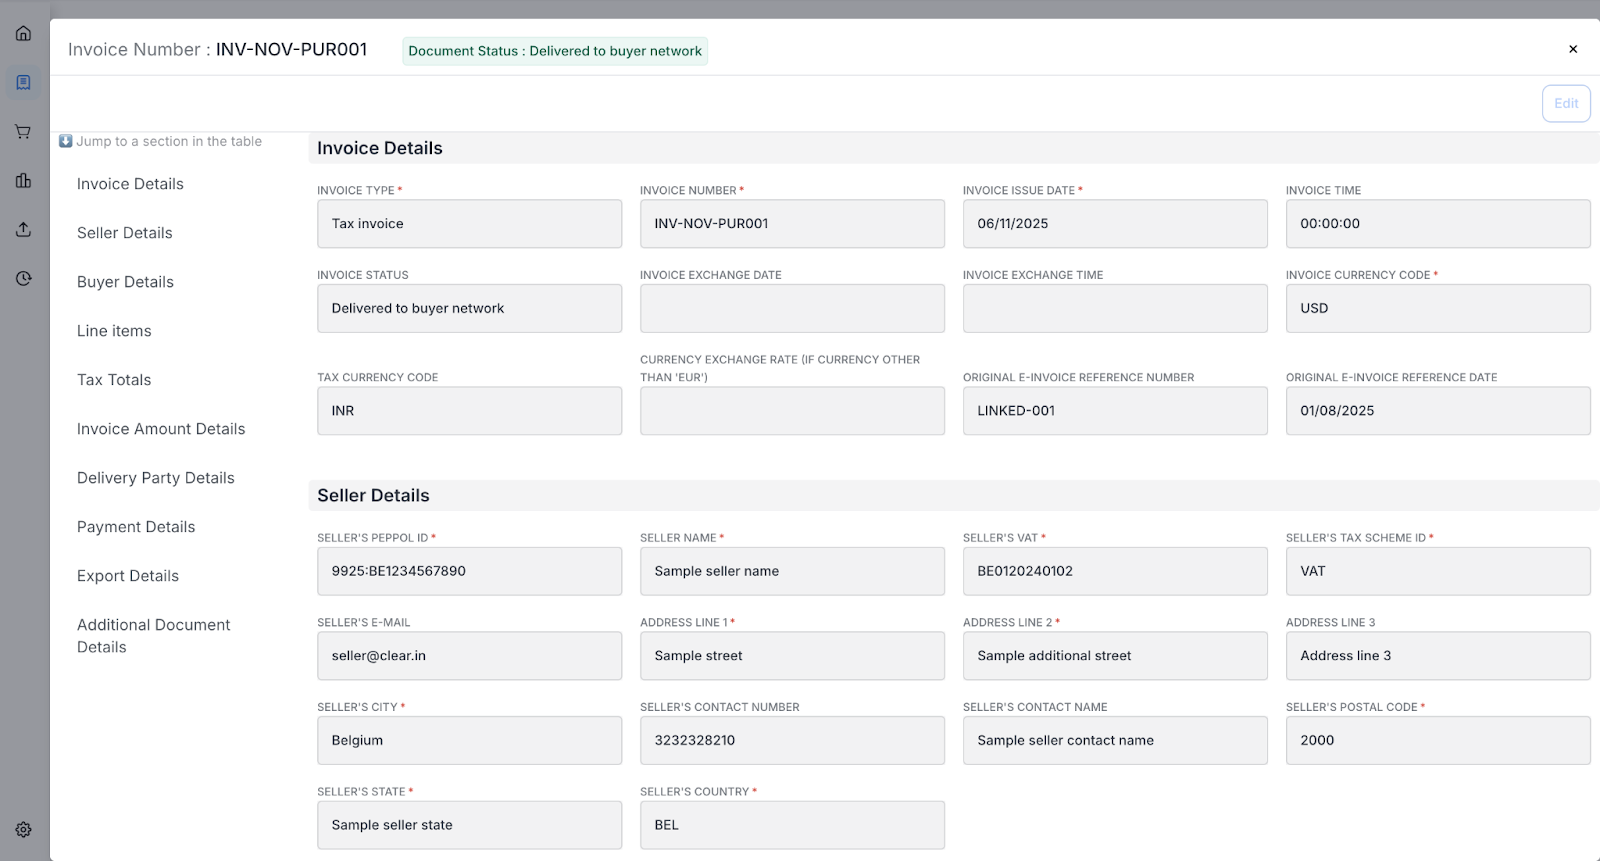
* **Delivered to Buyer Network:** The invoice has been successfully received and acknowledged by the buyer’s Access Point (Corner 3). This confirms delivery.
* **Delivered to Buyer:** The invoice has been successfully received by the buyer’s system (Corner 4).

* You can further click on the hyperlinked “Document number” to open the document details. The Detailed Document View allows you to see all invoice, seller, and buyer information. You can edit fields as well.
* In case of a “Failed” or an “Invalid” document, you can also see the error message and correct the error using the “Edit” button.
* Once the error is corrected, you can reinitiate the e-invoice generation process via the same page.